Single Sign-On (SSO) is one of the most common requirements in enterprise Salesforce implementations. Instead of managing separate usernames and passwords across applications, SSO allows users to authenticate once and access multiple systems securely.
In this guide, we’ll walk through a practical step-by-step process to configure Salesforce SSO using SAML, one of the most widely used authentication protocols.
Whether you’re a Salesforce Admin, Developer, or Architect, understanding SSO configuration is an essential skill in enterprise environments.
What is Single Sign-On (SSO)?
Single Sign-On allows users to log in once through a trusted identity provider and then access multiple applications without needing to authenticate again.
For example, a user might log in through an identity provider such as:
- Okta
- Microsoft Entra ID
- Ping Identity
Once authenticated, the user can seamlessly access Salesforce and other connected systems.
How Salesforce SSO Works
Most Salesforce SSO implementations use SAML.
Here’s the high-level flow.
SSO Authentication Flow
User ↓Attempts to access Salesforce ↓Salesforce redirects user to Identity Provider ↓User authenticates with Identity Provider ↓Identity Provider sends SAML Assertion ↓Salesforce validates assertion ↓User is logged into Salesforce
This architecture allows organizations to centralize authentication and improve security.
Prerequisites
Before setting up SSO in Salesforce, ensure the following:
✔ System Administrator access in Salesforce
✔ Identity Provider metadata (from Okta/Azure AD etc.)
✔ SAML certificate from the Identity Provider
✔ Identity Provider Login URL
✔ Entity ID details
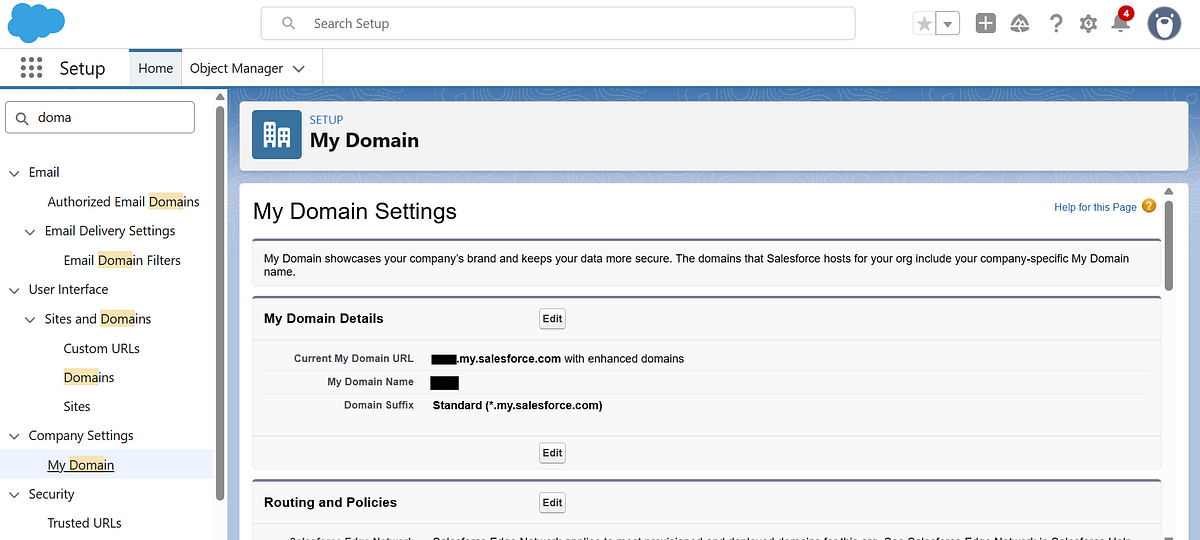
Step 1: Enable My Domain
SSO requires My Domain to be configured in Salesforce.
Navigate to:
Setup → My Domain
Register and deploy your custom Salesforce domain.
Example:
https://yourcompany.my.salesforce.com
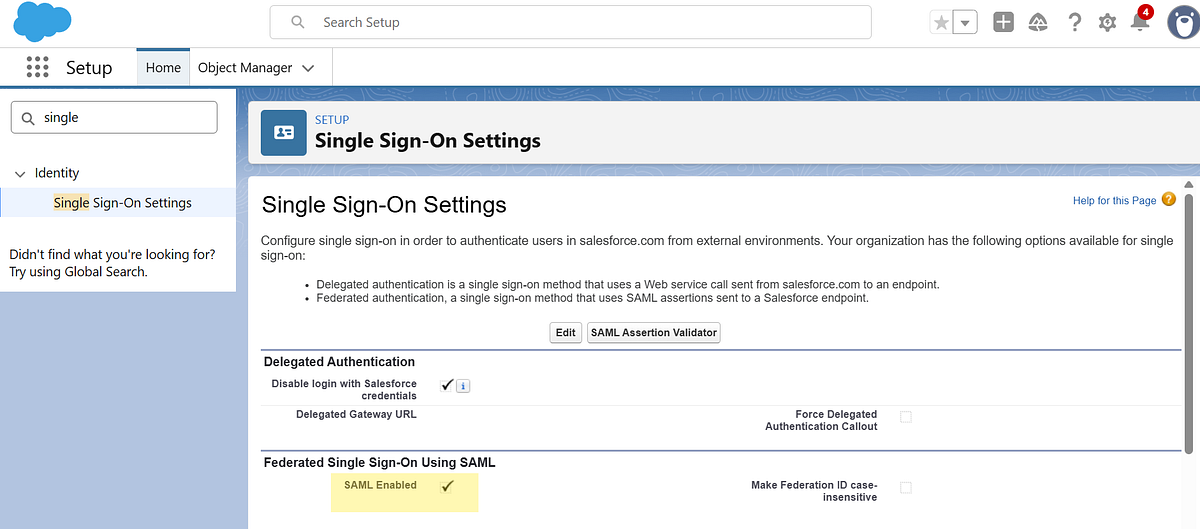
Step 2: Enable SAML Authentication
Navigate to:
Setup → Single Sign-On Settings
Then enable SAML Enabled.
Step 3: Create a New SAML Configuration
Navigate to Single Sign-On Settings and click New to create a new SAML configuration.
You can configure the SAML settings in two ways:
- Upload from URL — Provide the metadata URL from your Identity Provider (recommended for automatic updates).
- Upload File — Alternatively, upload the metadata XML file manually if you have it downloaded.
Choose the method that best fits your setup, then proceed with the configuration.

Step 4: Configure User Identification
Salesforce must determine which user is logging in.
This is done using the SAML Assertion.
Common identifiers include:
- Username
- Federation ID
Best practice in enterprise environments is to use Federation ID because it provides flexibility when usernames change. The Federation ID in Salesforce must match the identifier sent by the Identity Provider.

Step 5: Test the SSO Configuration
After saving your SAML configuration, Salesforce provides a Test-Only Initialization URL.
You can find this URL by:
- Navigating to Setup → Single Sign-On Settings
- Clicking on your newly created SAML configuration
- Locating the “Test-Only Initialization URL” field
Use this URL to validate your SSO setup before enabling it for all users. This ensures that authentication is working correctly without impacting existing login flows.
Common Mistakes to Avoid
During SSO setup, these issues frequently occur.
1. Certificate Expiration
Always monitor IdP certificates and renew them before expiration.
2. Federation ID Mismatch
Ensure the identifier in Salesforce matches the SAML assertion.
3. Lockout Risk
Always maintain one non-SSO admin login to avoid being locked out.
